Pillar
of Autumn: Cryo B to Halo Exploration
Part
1: The Path out of the Pillar of Autumn
with
FrogBlast

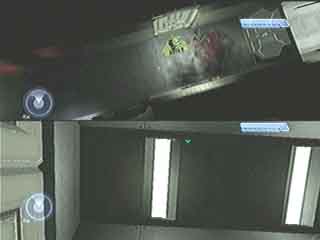
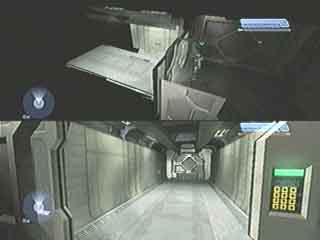
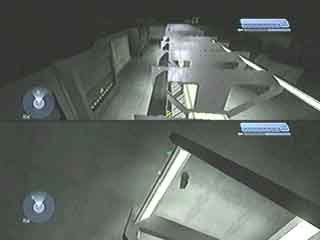
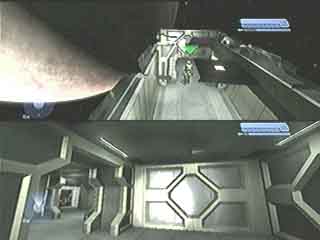
Get up here
using the closing cryo-tube lids.
Jump to this
light.
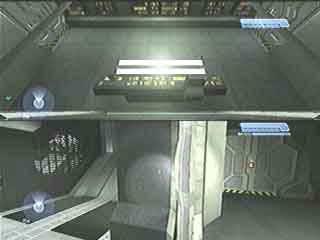
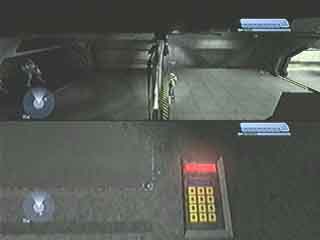
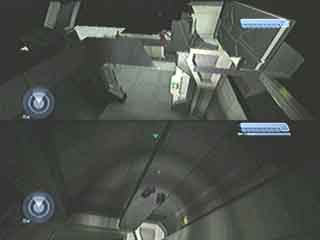
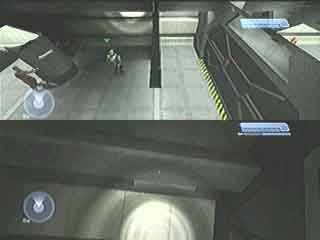
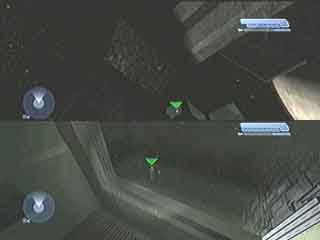
Head to the
corner of the control room.
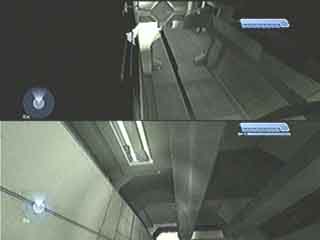
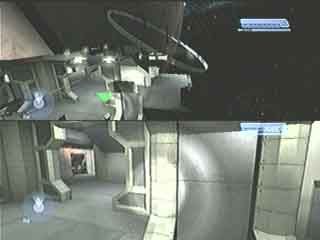
Jump to the
light fixture in this hall.
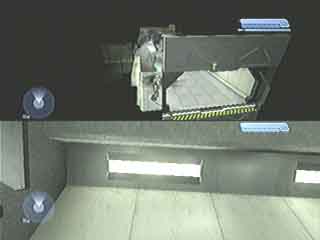
Have player two
go into the hallway, jump down to the lights below.
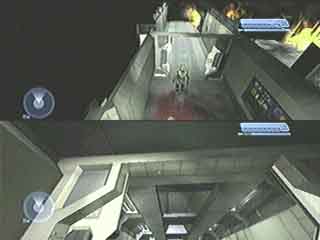
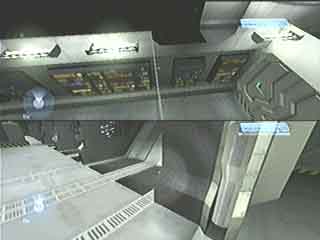
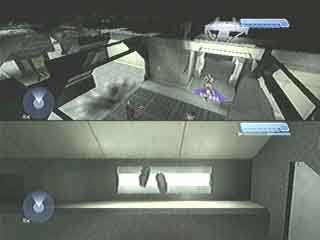
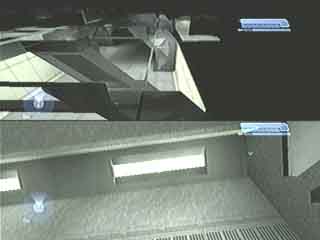
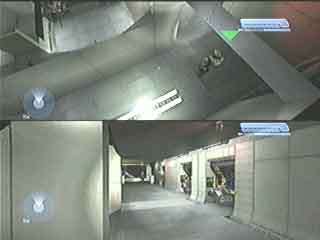
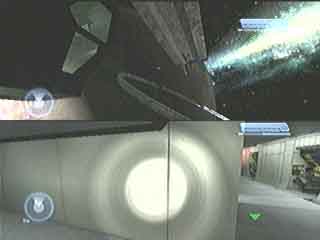
Jump from light
to light in this hallway.
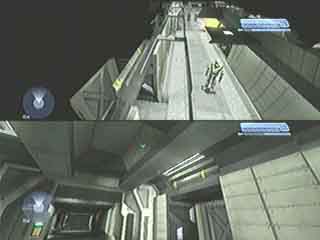
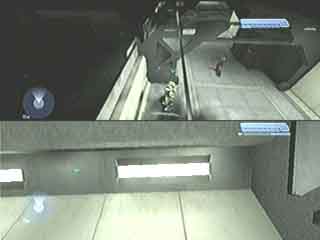
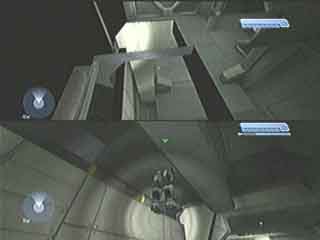
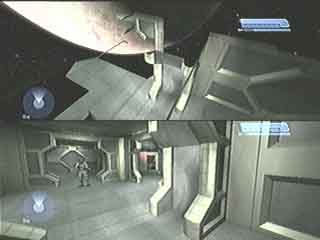
Jump along the
tops of these doors, along this wall.

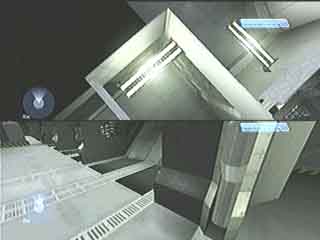
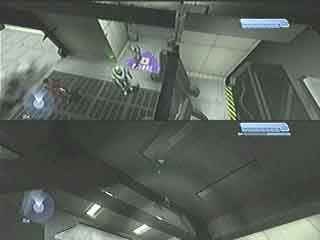
Jump from this
light to the light player 2 is looking at.
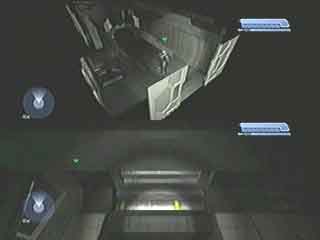
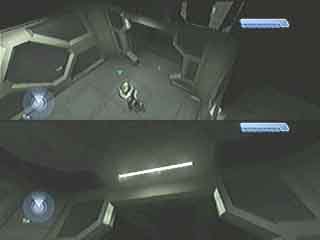
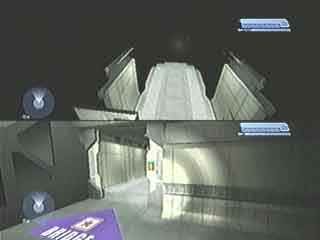
Jump to this
light.
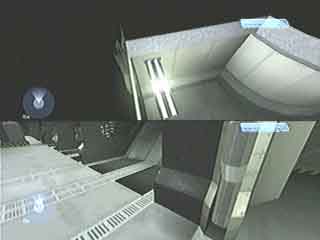
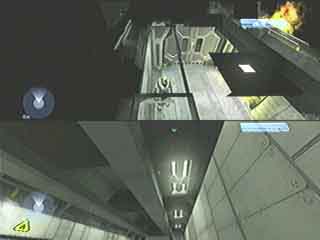
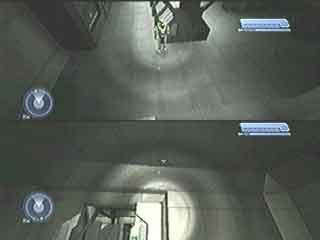
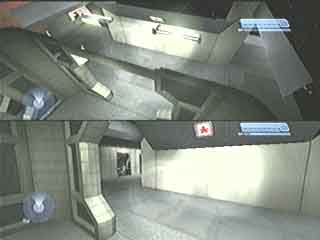
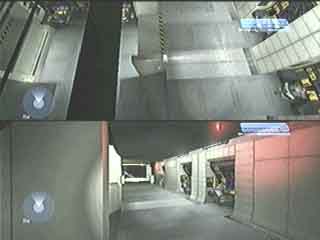
Jump from light
to light, moving towards the dark hallway.
Cut this corner,
jumping from light to light
After the
loading zone, your feet might stick through the floor. Jump out and to
the left a little to fix the problem.
Use these little
lights for extra footing
This part of the
ceiling is easily walked on.
Stand on this
light, then jump to the thin beam to the right.
Use the small
portion of the ceiling above and to the left of the door as a runway for this
big jump...
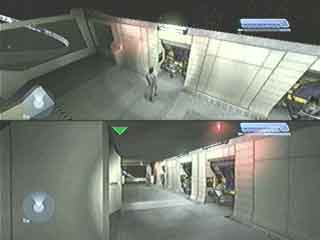
An easy walk to
the next area...
Same thing as
before, jump to the door, get on the light, walk along the thin beam to the
other side of the hall.
An easy light
hopping trip to the bridge entrance.

On the light
above the bridge door.
This hallway
ceiling is easy to walk on
Almost there!
Stand on the rim
of this doorway.
Jump to this
light.
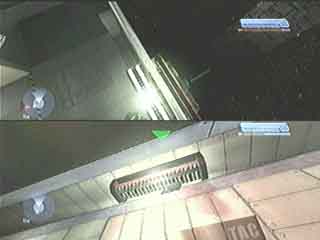
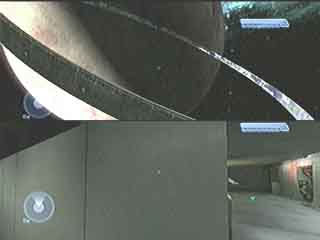
Walk on the
extremely thin rim of this ceiling structure.
Jump to this
light, then jump out (and a little toward the windows)...
You're
Out!!!
And you can
walk....
Part
2: Touching Halo
extra...
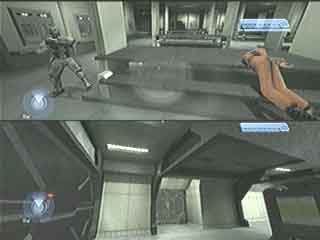
If you go into
the cafeteria, you will find out who REALLY massacred the
crew....